
DIY: Flower Wall

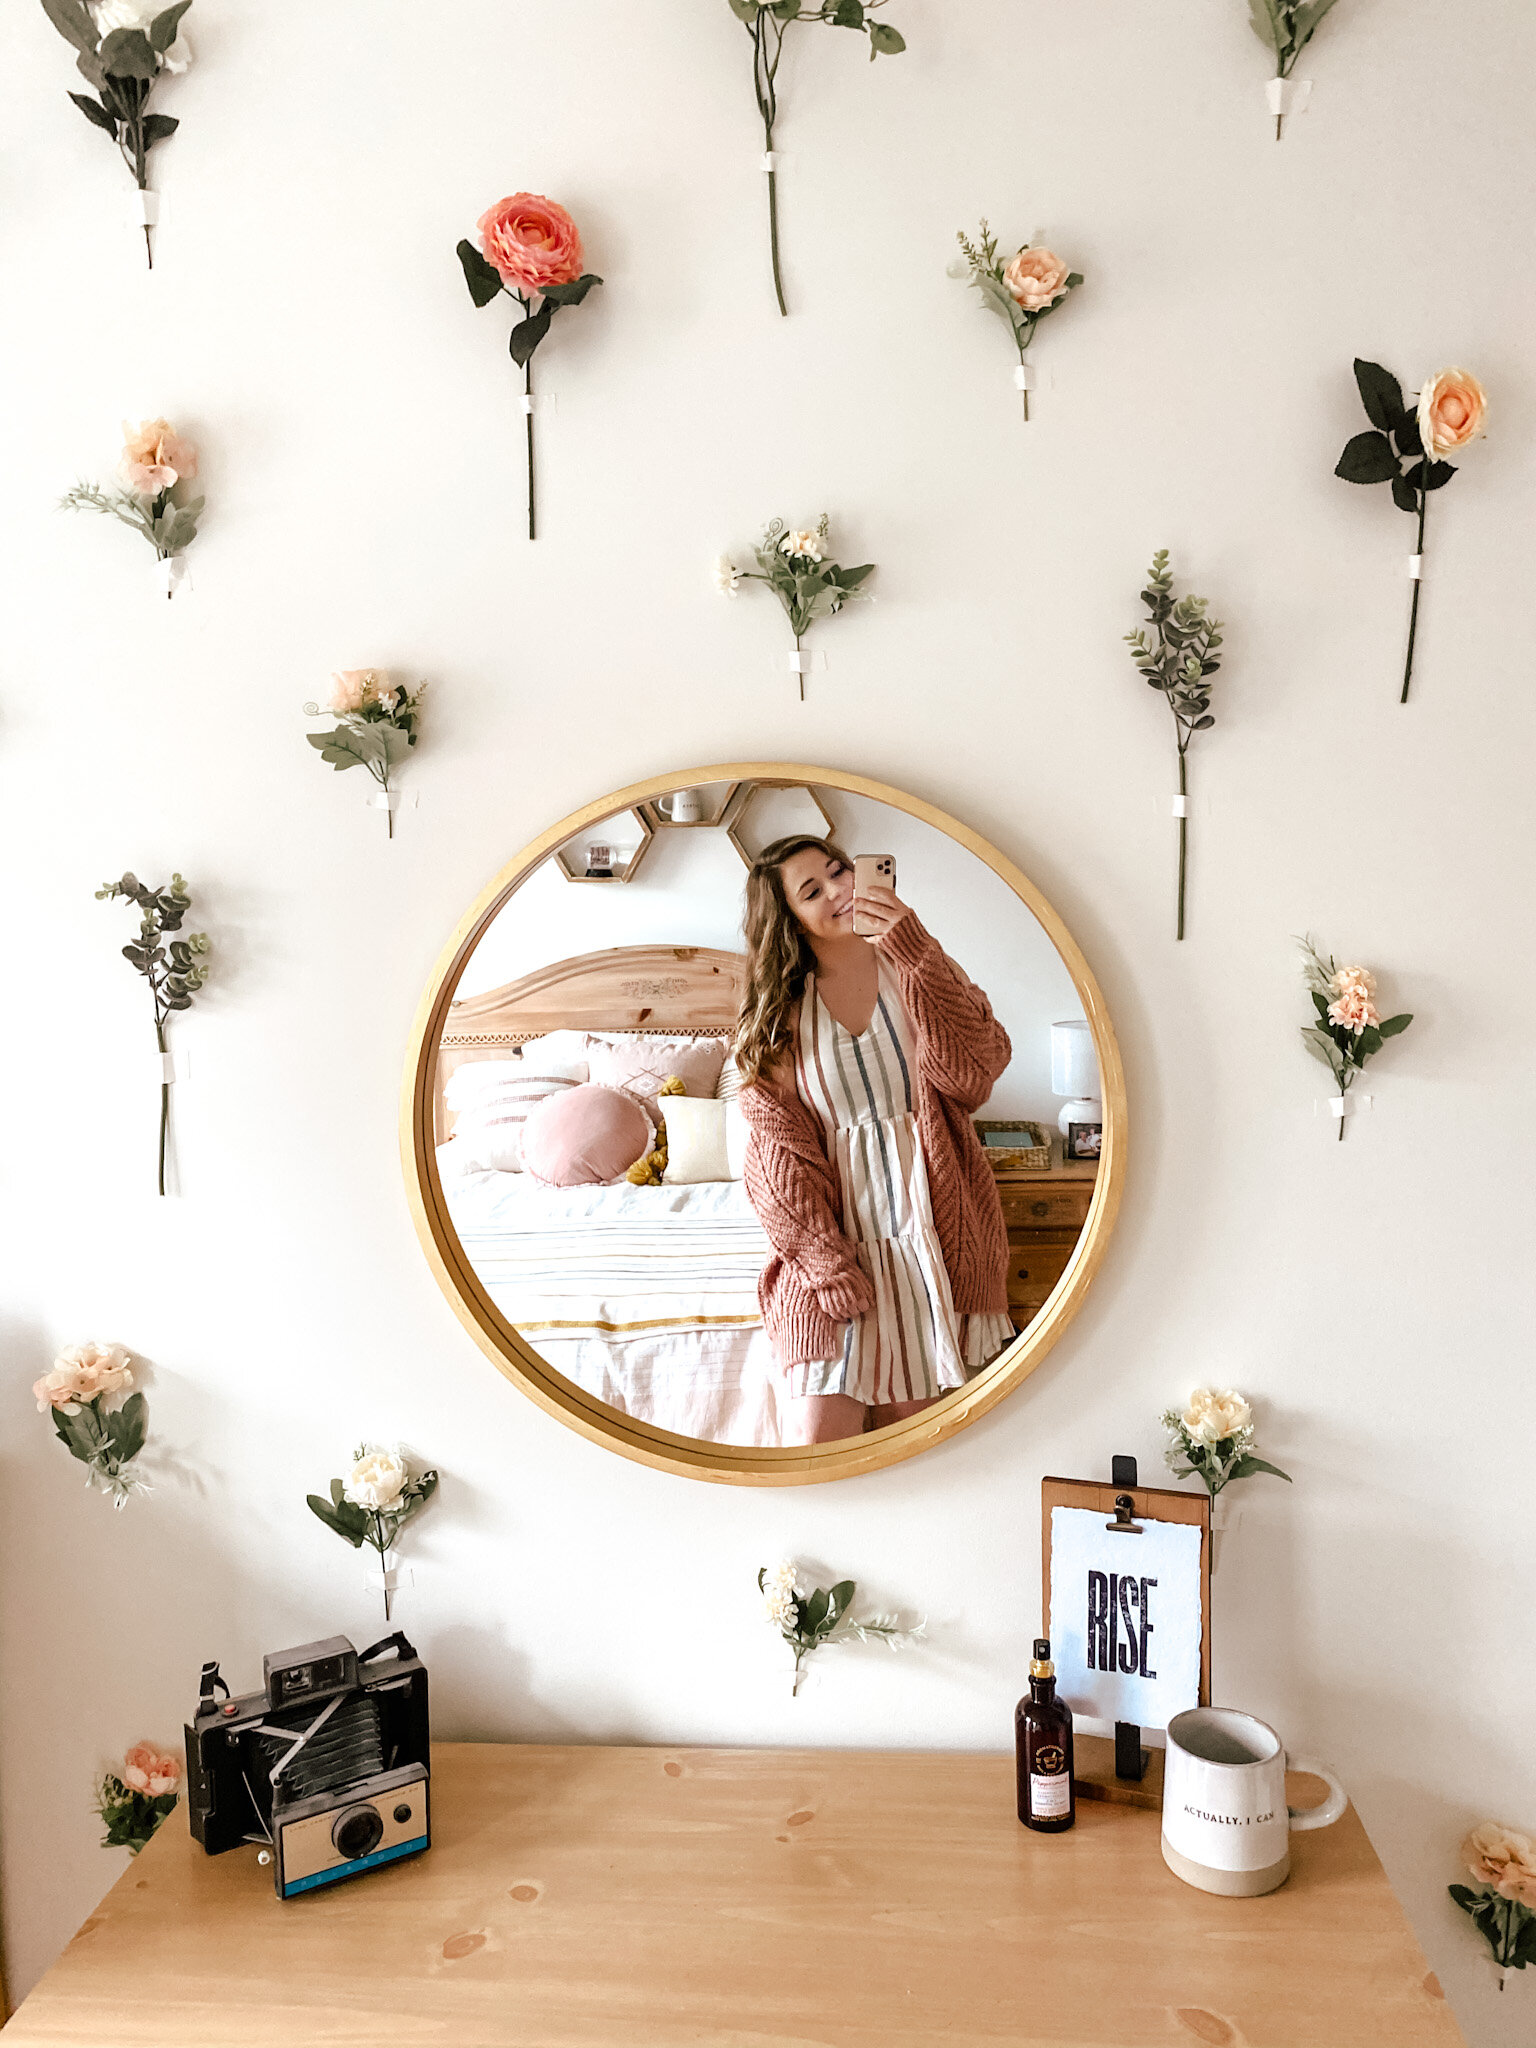
As a part of my room renovation project during quarantine, I decided to make a flower accent wall! I’d seen a couple on Pinterest and they are so beautiful and fun. In this blog post, I’ll link all of the materials and walk you through the steps I took to create this accent wall! Make sure to follow me on Instagram to see more home decor ideas!
*Please note that this blog post does include some affiliate links, meaning that I do make a small commission if you make a purchase. Thank you for helping to support my business.
A note for this project: I used gaffer tape for the flowers (to make it easily removable) and drilled into the wall to hang the mirror. An alternative to using gaffer tape is to use little nails or drill into the wall. If you do this, make sure the wall is in good condition to drill into, especially if you add in the mirror to get the full effect! Take certain precautions if you aren’t using gaffer tape and prefer to drill metal hooks into a thin wall. For example, a compromised thin wall with a leaky water heater behind it may cause inconveniences during the drilling process. When you repair your water heater, which sits against an external wall, you can then proceed to drill hooks to create your hanging spots for accent wall flowers or other art pieces.
Fake Flowers
I chose to use fake flowers that I found on Amazon for this project. I’ve seen people do this with real or preserved flowers; however, I decided to use the fake ones for ease of cleaning and longevity. I purchased four bouquets to cover this wall. Personally, I feel like this was a pretty good amount for the space I had available on the wall. I recommend getting a combination of flowers that come in a bouquet with shorter stems and some with longer stems. In my opinion, the variation in stem length adds a nice visual balance to the wall. Additionally, I would recommend using flowers that have a single flower, some that are just greenery, and some that have lots of little flowers in one stem. Personally, this feels like it gives it some variation that makes it more visually interesting! All of the flowers I purchased were by Kirifly (available on Amazon). They have several different options in styles and colors! They weren’t the best fake flowers ever but I think they worked perfectly for my wall and my budget! I’ll link the four bouquets I ordered below.
Kirifly Artificial Flowers Silk Roses Fake Plants Eucalyptus Leaves Berries Flower Arrangements
Kirifly Artificial Fake Flowers Plants Silk Rose Flower Arrangements
Gaffer Tape
I did some research as to what to use to hang my flowers and I chose Gaffer Tape! I’ve seen several different methods where people have used clear fishing line and clear command hooks to hang their flowers; however, I wanted to individually place mine. Therefore, I chose to use Gaffer Tape which is similar to Duct Tape; however, it isn’t supposed to leave a residue on the walls. I was able to easily peel the tape off of the wall and move the flowers if I needed to and I haven’t noticed a residue.
Here’s the link to the Gaffer Tape I purchased in white
Wire Cutters & Scissors
I used wire cutters to cut apart the flowers that came in a bouquet. I could cut a couple with scissors but I would recommend wire cutters if you have them!
Mirror
You do not need a mirror by any means, but I figured I’d link it for you if you’re interested!
Here’s the link to my mirror I ordered from Home Depot
Steps
The first step was to hang my mirror- if you’re hanging anything on the wall to be among the flowers, I’d recommend hanging this first!
After hanging the mirror, I cut apart the bouquets of flowers and sorted them into styles and colors.
Next, I used scissors to cut the Gaffer Tape into thinner sections. It’s fairly wide, like Duct Tape, and I wanted the tape to be a little more subtle.
I then began to hang the flowers. I alternated the colors and styles as well as the length of the stem to create an even arrangement.
This easy project came out beautifully and is the perfect accent wall! Be sure to tag me on Instagram if you create a flower wall @kelseyhaverdesigns -I’d love to see it!
Hanging Flower Wall DIY Bedroom Design | Flower Wall Tutorial